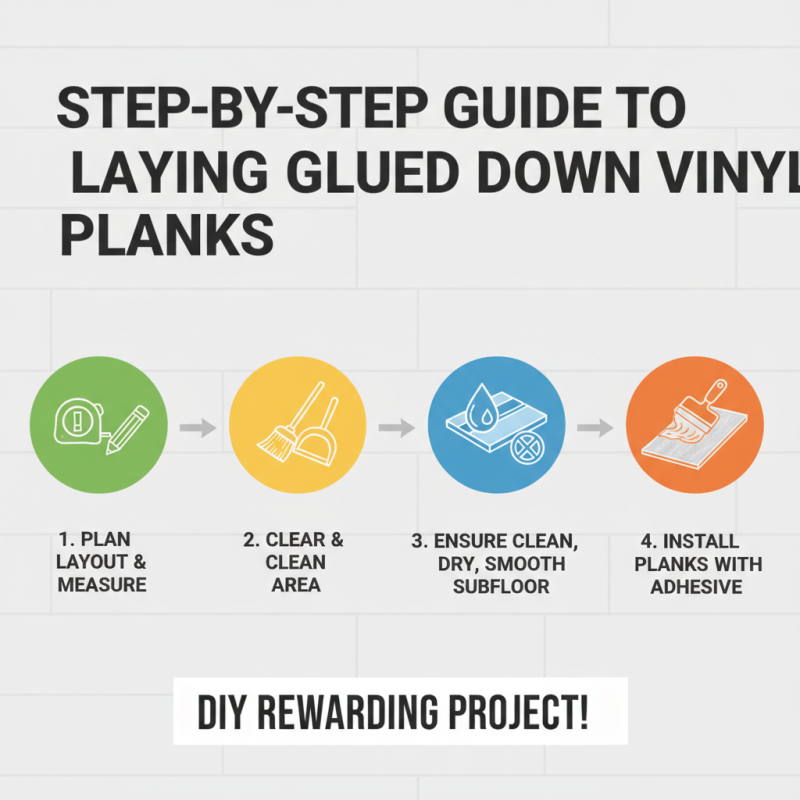
How to Install Glued Down Vinyl Flooring in Simple Steps?
Glued Down Vinyl Flooring is an excellent choice for homeowners seeking durability and style. According to flooring expert John Smith, “Installing glued down vinyl flooring can transform a space with minimal effort.” This type of flooring offers versatility and is ideal for high-traffic areas.
The installation process, however, can be daunting for many. It requires attention to detail and precision. One misstep can lead to unsightly seams or bumps. Many people overlook the importance of surface preparation. Ensuring the subfloor is clean and dry is crucial for a successful installation.
Using high-quality adhesive is also a significant factor. It impacts the longevity of your glued down vinyl flooring. While the process may seem simple, every step matters. It is essential to take the time to understand each phase of installation. This careful approach can ultimately lead to a beautifully finished floor that will last for years.
Understanding the Tools and Materials Needed for Vinyl Flooring Installation
Glued down vinyl flooring installation requires specific tools and materials to ensure a successful outcome. You will need a utility knife, straight edge, and vinyl flooring adhesive. A trowel for applying adhesive and a roller for smoothing the surface are essential as well. According to the National Wood Flooring Association, proper tools can enhance the installation process and reduce errors, contributing to a better finish.
Preparation is key before beginning your project. Ensure the subfloor is clean, dry, and level. Moisture testing is often recommended, as excess moisture can compromise the adhesive’s effectiveness. Industry data indicates that nearly 80% of flooring failures are linked to poor subfloor conditions. This highlights the importance of careful preparation and assessment.
Tip: Always use a moisture meter to check your subfloor before installation. If moisture is present, address it to prevent future complications. Also, consider acclimating vinyl planks to the room temperature for at least 48 hours prior. Remember, rushing into installation without proper evaluation may lead to costly mistakes.
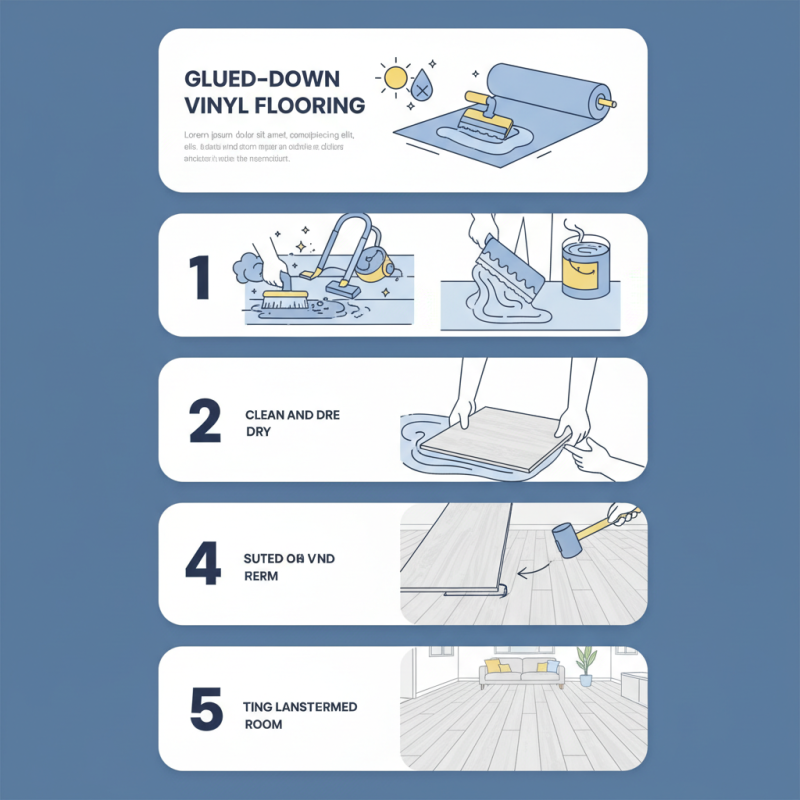
How to Install Glued Down Vinyl Flooring in Simple Steps?
| Step |
Description |
Tools Required |
Materials Needed |
| 1 |
Prepare the Subfloor |
Floor scraper, broom, vacuum |
Underlayment (if necessary) |
| 2 |
Acclimate the Vinyl |
None |
Vinyl flooring planks |
| 3 |
Apply Adhesive |
Notched trowel, paint roller |
Specialized vinyl adhesive |
| 4 |
Install the Planks |
Rubber mallet, measuring tape |
Vinyl flooring planks |
| 5 |
Trim and Finish |
Utility knife, straight edge |
Baseboards, trim |
Preparing the Subfloor for Glued Down Vinyl Flooring
Preparing the subfloor is a critical step for installing glued down vinyl flooring. A clean, level surface ensures better adhesion and longevity of the flooring. Begin by removing any old flooring materials. This action prevents issues like uneven surfaces and trapped moisture. Inspect the subfloor for any damages. Fill holes and cracks with a suitable filler for a smooth base.
**Tips:** Use a level to check for uneven areas. Areas higher than a quarter inch should be sanded down or filled. After addressing these issues, clean the subfloor thoroughly. Dust, dirt, and debris can hinder adhesive bonding. A vacuum or damp mop works well for this task.
Consider humidity and temperature. Extreme conditions can affect the adhesive's performance. Allow the subfloor to acclimate to room temperature. Sometimes, floors may feel too cold or damp. Use a dehumidifier or heater to assist. Patience is key in this preparation stage.
**Tips:** Allow the subfloor to dry completely before proceeding. This step minimizes mold risks. Avoid rushing; a well-prepared subfloor leads to a successful flooring project. Understanding these factors is essential for a smooth installation process.
Installation Steps for Glued Down Vinyl Flooring
Applying Adhesive and Installing the Vinyl Flooring
Applying adhesive for glued down vinyl flooring is a vital step. Correct adhesive application ensures durability and extends the lifespan of the flooring. According to industry reports, improperly glued flooring can result in an average reduction of 25% in its lifespan.
When applying adhesive, consider the temperature and humidity levels in the room. The ideal range is between 65°F and 85°F. These conditions enhance adhesion. Use a notched trowel to spread the adhesive evenly. This ensures even coverage. A consistent layer of adhesive helps prevent bubbles and warping.
After applying the adhesive, place the vinyl flooring carefully. Start from one corner and work your way out. Align pieces accurately to avoid seams. The average error in alignment during installation can lead to a 15% increase in material waste. Weighting down the vinyl with a roller can enhance adhesion further. While it may seem tedious, ensuring each piece is securely fastened is crucial for a professional finish.
Finishing Touches: Trimming and Cleaning the Installed Flooring
After installing glued down vinyl flooring, focus on the finishing touches. Proper trimming ensures edges are neat and professional. Start with baseboards or quarter round moldings. Using a miter saw, cut the trim pieces at 45-degree angles for a seamless look.
Cleaning the newly installed flooring is crucial. Sweep up any debris or adhesive residue. A damp mop can help remove sticky spots. Avoid using excessive water; vinyl is sensitive to moisture. The goal is a clean surface without damaging your work.
Tips: Always check your trim for imperfections before installation. A small scratch can stand out once painted. When cleaning, use a gentle cleanser specifically meant for vinyl. Harsh chemicals could harm the finish. Keeping tools handy during installation can reduce last-minute searches when making adjustments.